Failed to apply patch Android Studio solution
If you are seeing the error “failed to apply patch” at the end of every attempt to update Android Studio you might be glad to know that there is a quick solution to this problem. Before I proceed with the solution, I will give a short background of why this problem occurs.
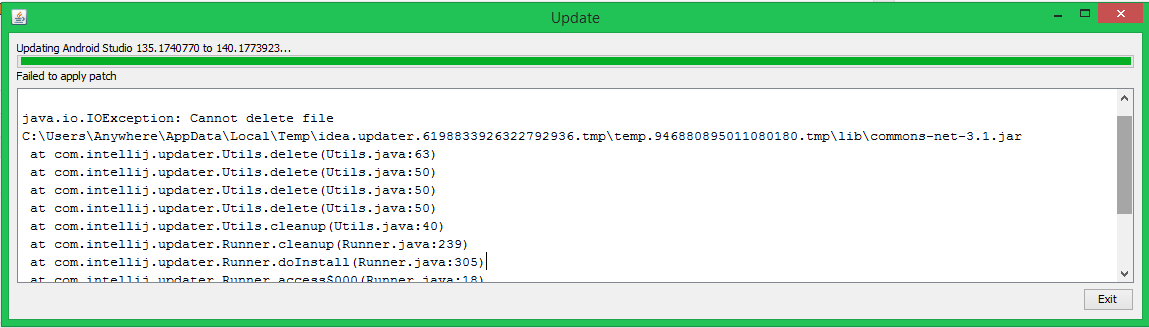
According to the Android Studio Google project members, the problem was caused by an oversight when they made improvement changes to the Android Studio updater, which breaks application signatures. By default, the canary builds do not come bundled with an embedded Android SDK folder so the project developers did not catch this as an exception. If you are seeing the “failed to apply patch” error, you probably moved to the canary build update channel after installing the standard Android Studio build.
To solve the “failed to apply patch” Android Studio problem you can follow these steps:
1. Move the Android SDK folder out of the Android Studio folder (quit Android Studio first).
2. Redo the Android Studio update process.
3. Once the update is complete, you will be prompted to enter the new location of the Android SDK.
If these steps do not work for you, update your Java runtime engine (JRE) and development kit (JDK) to the latest version. Alternatively, you could also just download the latest Android Studio build, install it (after renaming the folder of the previous build), and import your projects from the old buggy build.
I hope this has helped you. You can let me know what worked for you in the comments below.